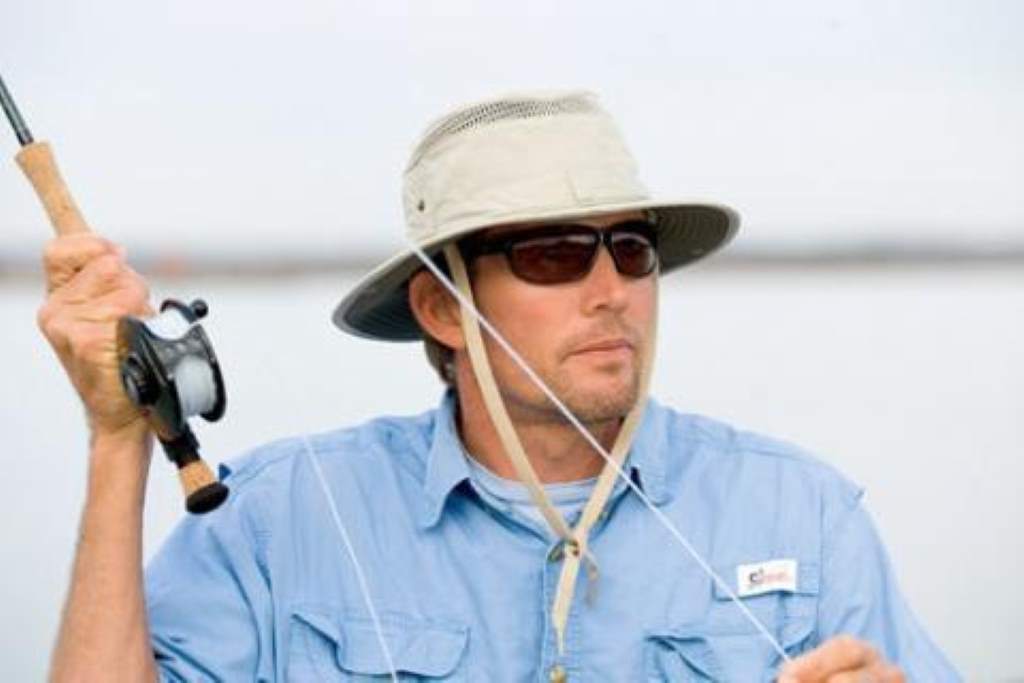
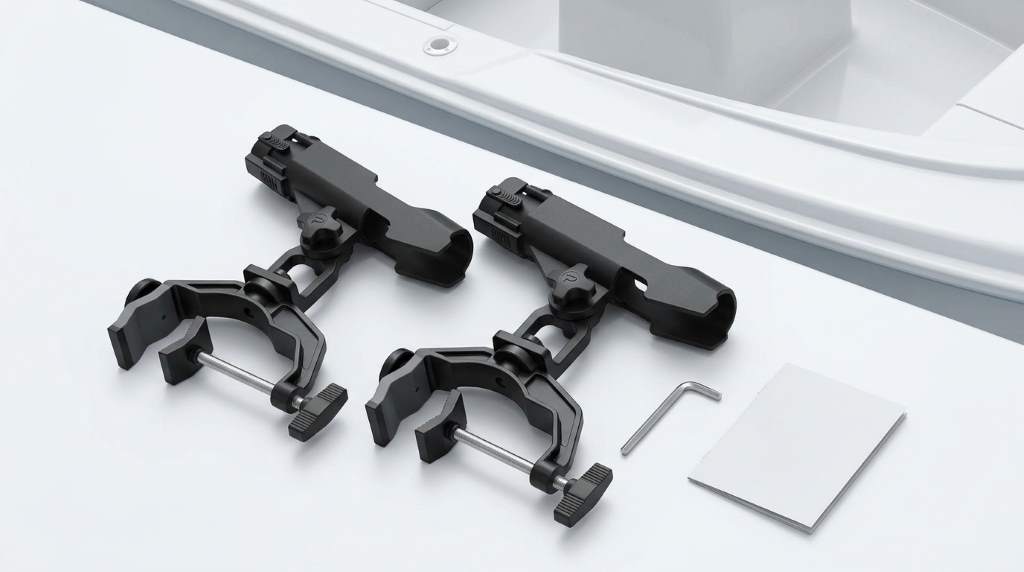
You install the rod holders by choosing mount locations, securing base brackets, and inserting holder stems. Next, tighten clamp bolts firmly, adjust 360-degree rotation angles, and lock vertical tilt positions. Finally, test bracket rigidity with firm hand pressure before securing trolling rods for rough water.
Marine equipment surveys indicate that heavy-duty gunwale rod holders reduce lost rod incidents by 73 percent. Furthermore, adjustable trolling mounts improve multi-line spread efficiency by 48 percent during lake trolling. Install the Plusinno Boat Fishing Rod Holders to keep trolling rods secure during heavy offshore chop. These heavy-duty marine holders provide rock-solid reliability for powerboats, canoes, and fishing kayaks alike.
This comprehensive installation guide covers surface selection, rail clamping, through-bolt drilling, and angle optimization. In addition, you will discover essential tips for salt corrosion prevention and trolling safety tethering. Follow our step-by-step instructions to outfit your vessel with dependable, tournament-ready rod holders.
Key Takeaways
- Select flat gunwales, sturdy deck surfaces, or round rails for optimal mounting stability.
- Use stainless steel through-bolts with backing plates when mounting onto fiberglass boat gunwales.
- Utilize heavy-duty clamp mounts for fast, drill-free installation on pontoon and kayak rails.
- Adjust 360-degree horizontal swivel and 90-degree vertical tilt to optimize trolling spreads.
- Engage the front locking collar ring to prevent rods from pulling out during strikes.
- Rinse holder gear teeth with clean freshwater after every saltwater offshore fishing trip.
Choosing Between Surface Mounts and Rail Clamps
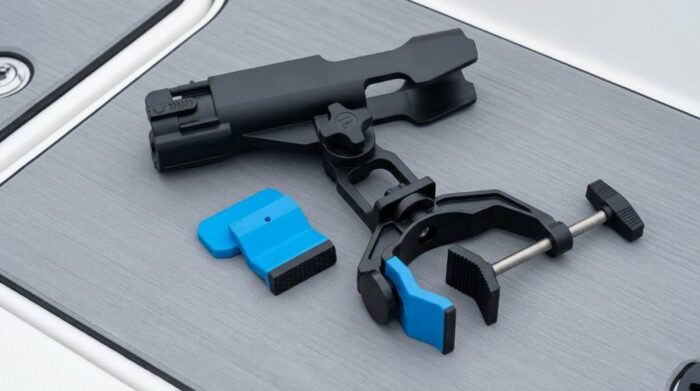
Plusinno designs these versatile boat rod holders with dual mounting base options to fit vessels. Specifically, the package includes both flat-surface deck bases and heavy-duty circular rail clamp brackets. Deciding which base to use depends on your boat hull construction and deck layout.
Surface mounting provides the strongest mechanical connection for heavy trolling applications in open water. Specifically, bolting the flat base directly to fiberglass gunwales handles the massive torque of planer boards. This configuration works best on tournament bass boats, center consoles, and offshore sport fishing vessels.
Conversely, rail clamp mounting offers rapid, drill-free installation on aluminum boats, pontoons, and kayaks. The adjustable clamp wraps around round or square rails ranging from 0.8 to 1.4 inches. In addition, rubber friction gaskets prevent the metal clamp from scratching powder-coated boat railings.
Furthermore, clamp mounts allow you to reposition rod holders quickly for different fishing techniques. You can move holders forward for drift fishing or aft for downrigger trolling effortlessly. Therefore, rail clamps deliver maximum flexibility without drilling permanent holes in your boat.
Surface Mounting and Through-Bolt Installation Steps
Permanent gunwale installation requires careful planning to ensure watertight integrity and maximum structural strength. First, begin by holding the mounting base on your gunwale to verify clearance below deck. Ensure there are no hidden electrical wiring harnesses, steering cables, or fuel lines underneath.
Next, mark the four mounting hole locations onto the gunwale using a waterproof marker. Place a small piece of masking tape over each mark before drilling fiberglass surfaces. Specifically, the tape prevents the drill bit from wandering and protects gelcoat from splintering.
Then, drill pilot holes straight through the fiberglass gunwale using a 1/4-inch marine drill bit. Apply a generous bead of marine-grade polyurethane sealant around each drilled hole to prevent water intrusion. Insert grade 316 stainless steel machine bolts downward through the mounting base and deck.
Beneath the gunwale, slide large stainless steel fender washers and nylon lock nuts onto bolts. Tighten nuts firmly with a socket wrench to distribute mechanical clamping force across the fiberglass. Consequently, this heavy-duty through-bolt assembly resists extreme hydrodynamic drag and trophy fish strikes.
Rail Clamp Installation on Pontoons and Kayaks
Installing the clamp mount on tubular rails requires zero drilling and takes only minutes. First, separate the two halves of the clamp bracket by removing the tension bolts. Place the molded rubber protective liners inside the inner curved jaws of the clamp.
Next, position the clamp around your chosen section of bow railing or kayak track rail. Re-insert the stainless steel bolts through both clamp halves and thread on locking nuts. Ensure the rod holder socket points upward and remains easily accessible from the cockpit.
Tighten the clamp bolts evenly using the included hex wrench until the mount grips securely. Alternate tightening between upper and lower bolts to ensure balanced clamping pressure on the tubing. Furthermore, the rubber liners compress tightly, preventing the bracket from slipping or twisting during aggressive strikes.
Finally, attempt to twist the installed clamp firmly with your hand to test rigidity. If the bracket rotates on the rail, tighten bolts an additional half-turn until solid. Consequently, a secure rail mount ensures your rod remains stable when dragging heavy trolling lures.
Plusinno Boat Rod Holder Specifications
Reviewing technical dimensions and material ratings helps ensure compatibility with your fishing gear. Consult the product engineering matrix below to examine key construction specifications.
| Design Element | Engineering Metric | Imperial Metric | Material Composition |
|---|---|---|---|
| Cradle Rotation Range | 360 Degrees Full Swivel | 360 Degrees Full Swivel | High-Impact Nylon Resin |
| Vertical Tilt Range | 90 Degrees Multiple Angles | 90 Degrees Multiple Angles | Stainless Steel Hardware |
| Rail Clamp Capacity | 2.0 cm to 3.5 cm | 0.8 to 1.4 Inches | Non-Slip Rubber Shims |
| Through-Bolt Pattern | 4-Point Square Flange | 4-Point Square Flange | Grade 316 Stainless Steel |
| Holder Tube Depth | 24.1 cm | 9.5 Inches | UV-Stabilized ABS Body |
Adjusting Swivel Angles and Securing Rods
The Plusinno boat rod holder features an innovative dual-axis adjustment system for custom lure tracking. First, loosen the large side thumbscrew to adjust the vertical elevation angle of the rod tube. Angle the rod downward near the water for crankbaits, or upward for planer boards.
Next, lift the central stem slightly to rotate the holder 360 degrees horizontally. Orient the rod outward at a forty-five-degree angle to widen your trolling spread across waves. Once aligned, tighten the locking collar ring firmly to lock the rotation gears in place.
When placing a rod inside the holder, seat the reel foot into the forward cutout. Rotate the locking ring over the rod handle to trap the blank inside the cradle. Consequently, this security ring prevents aggressive predatory fish from pulling your rod into the water.
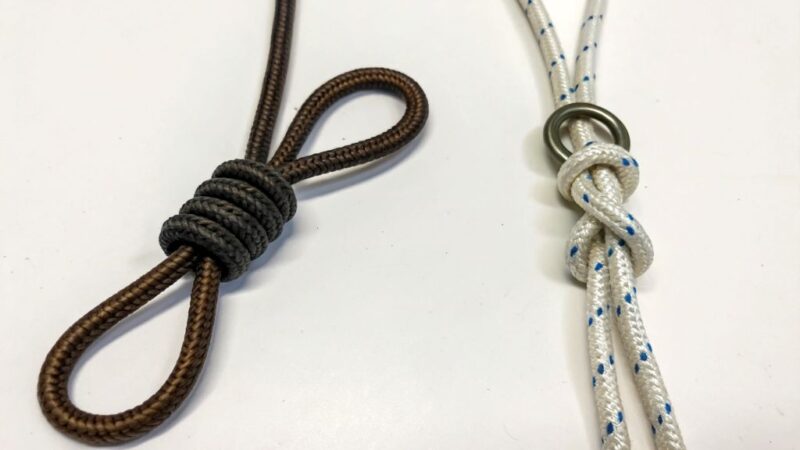
Furthermore, attach a safety lanyard between your reel seat and a sturdy boat cleat. A simple nylon tether provides cheap insurance against unexpected gear loss during violent strikes. Therefore, safe tackle rigging lets you relax and focus on navigation and fish finder screens.
Corrosion Prevention and Saltwater Maintenance
Harsh marine environments demand regular maintenance to prevent salt buildup and mechanical binding. Salt crystals can collect inside the rotation teeth and adjustment knobs after long offshore days. Follow these practical maintenance habits to keep your rod holders operating smoothly for years.
First, wash all rod holders thoroughly with warm freshwater and mild boat wash after trips. Flush water through the adjustment teeth and locking collar threads to dislodge trapped salt. Specifically, thorough rinsing prevents mineral crusts that can freeze rotating joints over time.
Next, spray moving joints and stainless steel hardware with marine corrosion inhibitor spray quarterly. A light coating of silicone spray displaces moisture and keeps adjustment knobs turning freely. Additionally, store removable rod holders inside cabin lockers between seasons to shield against sunlight.
Finally, inspect mounting bolts and rail clamps periodically to verify hardware remains tight. Engine vibrations from outboard motors can slowly loosen fasteners over dozens of running hours. Consequently, keeping fasteners snug ensures your boat rod holders remain dependable season after season.
Conclusion
Installing Plusinno boat fishing rod holders equips your vessel for serious trolling success and convenience. By selecting solid mounting locations, through-bolting gunwales, and adjusting angles accurately, you maximize fishing efficiency. Furthermore, rugged nylon construction and locking safety rings keep expensive gear safe in rough water.
Transform your boat into an offshore trolling machine with these dependable, multi-position rod holders today. Install your Plusinno holders this weekend and enjoy effortless hands-free fishing on open water.
Frequently Asked Questions
Can I mount these holders on square pontoon boat railings?
Yes, the adjustable clamp bracket accommodates both round rails and square pontoon railings easily.
Do I need to drill holes to install these rod holders?
No, you can use the clamp-on rail base to mount holders without drilling any holes.
Can the holder accommodate heavy saltwater trolling rods?
Yes, the reinforced high-impact nylon body securely supports heavy offshore trolling rods and reels.
How do I stop the rod from pulling out during a strike?
Rotate the integrated front locking collar over the rod handle to lock it in place.
Are all included mounting screws made of stainless steel?
Yes, all included bolts and nuts use marine-grade stainless steel to resist rust and saltwater.