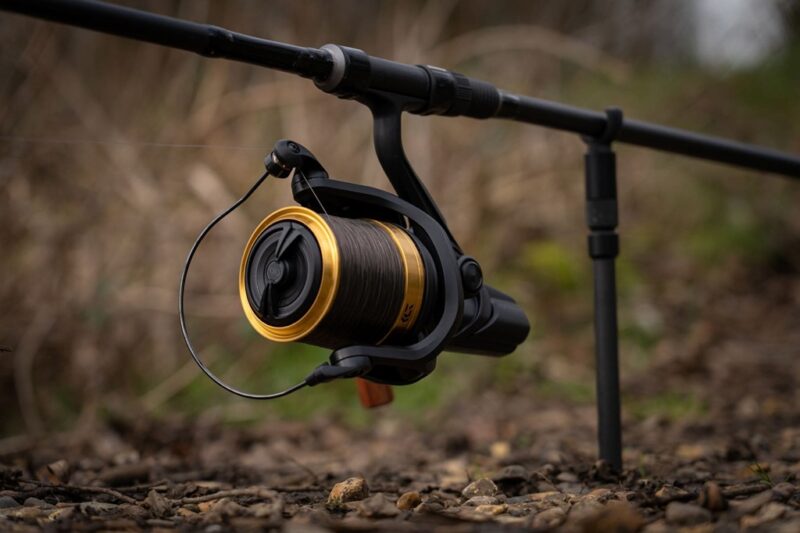
Every angler, from the seasoned veteran to the eager novice, dreams of a perfect cast – that effortless arc that sends your lure sailing precisely to its target. But what often goes unnoticed in this quest for perfection is the humble fishing line itself, and more importantly, how it’s spooled onto your reel. A properly spooled reel is the unsung hero of a successful fishing trip, ensuring smooth casts, powerful retrieves, and most importantly, preventing those infuriating, time-consuming tangles and dreaded bird’s nests that can turn a relaxing day on the water into a frustrating ordeal.
Improper line spooling is a common culprit behind a myriad of angling woes. It leads to line twists, diminished casting distance, reduced line strength, and ultimately, a higher chance of losing that trophy fish. Many anglers, especially those new to the sport, often overlook the critical importance of correct spooling, leading to unnecessary frustration and wasted time. This comprehensive guide aims to demystify the process, providing you with step-by-step instructions and invaluable tips to spool your fishing reel without a single tangle, ensuring your next angling adventure is as smooth and successful as possible.
Why Does Proper Spooling Matter So Much?
Before we dive into the “how-to,” let’s briefly reiterate the significant benefits of taking the time to spool your reel correctly:
- Optimal Casting Distance and Accuracy: Line that comes off the spool smoothly and evenly will fly further and more accurately. Twists and uneven loading create friction and drag, significantly hampering your cast.
- Reduced Line Memory and Twists: All fishing lines, especially monofilament, have “memory.” Improper spooling can exacerbate this, causing the line to spring off the reel in coils. Correct spooling minimizes memory and prevents frustrating line twists.
- Enhanced Line Strength and Durability: When line is spooled under consistent tension, it sits uniformly on the reel, distributing pressure evenly. This prevents flat spots, nicks, and areas of weakness that can lead to break-offs.
- Prevention of Backlashes and Bird’s Nests: This is perhaps the most significant benefit for many anglers. Properly spooled line lays flat and evenly, preventing the chaotic tangles that plague baitcasting reels and cause frustration on spinning reels.
- Increased Reel Longevity: A correctly spooled reel experiences less stress on its internal components, as the line flows smoothly and doesn’t put undue pressure on the drag system or bail.
- More Enjoyable Fishing: Ultimately, a properly spooled reel leads to a more enjoyable and productive fishing experience. Less time untangling means more time fishing!
Understanding Your Reel and Line Type: A Crucial First Step
Before you even think about putting line on your reel, it’s essential to understand the type of reel you’re using and the characteristics of the fishing line you intend to spool. Different reels and line types require slightly different approaches.
Reel Types:
- Spinning Reels (Open-Face Reels): These are the most common and versatile reels, characterized by a stationary spool and a rotating bail arm. They are generally more forgiving for beginners.
- Baitcasting Reels: Known for their power and precision, baitcasting reels have a revolving spool that spins with the line. They offer superior casting accuracy and retrieve power but require more practice to prevent backlashes.
- Spincast Reels (Closed-Face Reels): These are the easiest to use, with a closed nose cone and a button to release the line. While simple, they offer less casting distance and control.
Line Types:
- Monofilament (Mono): Affordable, stretchy, and easy to tie knots with. It has significant “memory” and can be prone to twists if not spooled correctly.
- Fluorocarbon (Fluoro): Less stretchy, virtually invisible underwater, and more abrasion-resistant than mono. It’s stiffer and can be more challenging to manage.
- Braided Line (Braid): Extremely strong for its diameter, virtually no stretch, and very sensitive. It’s more expensive and can be slippery to tie knots with. Braid requires a backing line (usually mono) to prevent it from slipping on the arbor of the spool.
The Essential Tools You’ll Need
While you can technically spool a reel with minimal equipment, having these tools will make the process much easier and more effective:
- Your Fishing Reel: Clean and in good working order.
- Your Chosen Fishing Line: Ensure it’s fresh and the correct pound test for your reel.
- A Pencil or Dowel Rod: For supporting the line spool.
- A Bucket of Water (Optional but Recommended for Spinning Reels): Helps reduce line memory and provides a consistent unspooling angle.
- A Damp Cloth: For maintaining tension on the line.
- Scissors or Line Clippers: For cutting the line.
- Gloves (Optional): Especially if using braid or spooling a lot of line, to protect your hands from friction.
- A Friend (Highly Recommended): Having an extra pair of hands to hold the line spool makes the process significantly smoother.
- A Reel Spooling Station (Optional but Ideal): If you’re serious about fishing and spooling frequently, investing in a dedicated spooling station provides consistent tension and control.
Related: Clinch Knot vs Palomar: Copolymer vs Mono: Which Fishing Line Should You Choose
The Step-by-Step Guide: Spooling Your Reel Without Tangles
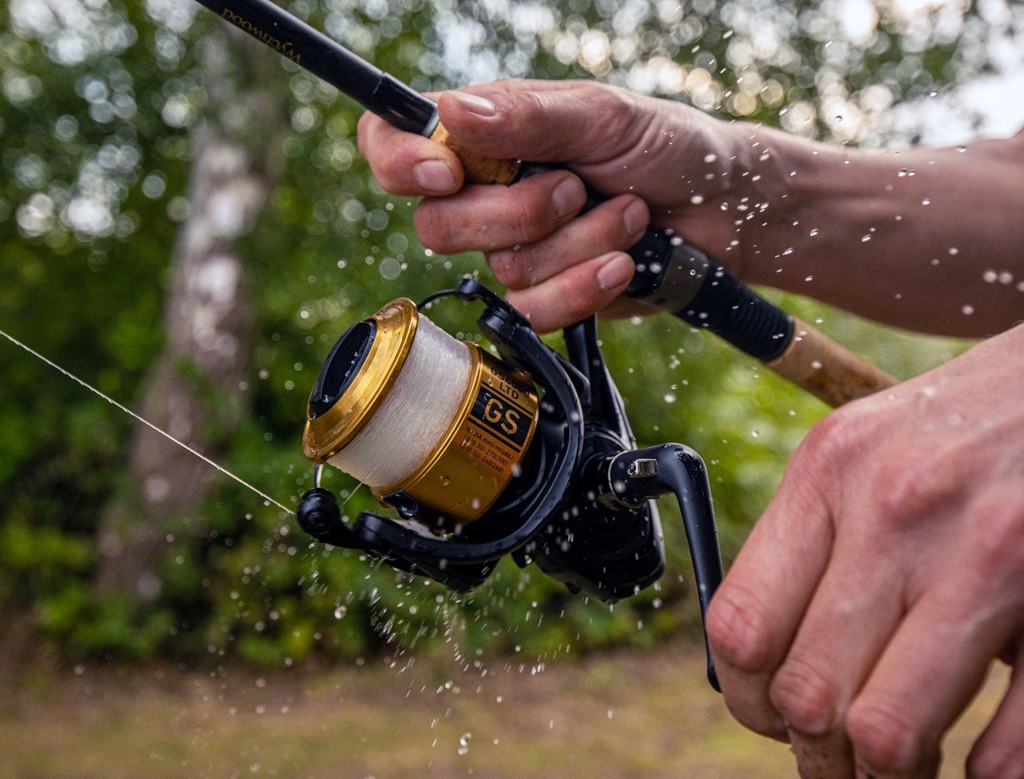
The core principle behind tangle-free spooling is to match the direction of the line coming off the filler spool to the direction it goes onto your reel. Let’s break it down by reel type.
-
Spooling a Spinning Reel: The Water Bucket Method (Recommended)
This method is widely regarded as the best for spinning reels as it minimizes line twist.
- Step 1: Secure the Reel to Your Rod. Attach your spinning reel firmly to the fishing rod you’ll be using it on. This provides stability and the correct angle for spooling.
- Step 2: Prepare Your Line Spool. Take your new spool of fishing line and place it in a bucket of water. This is crucial. The label should be facing up, and the line should be coming off the spool in the same direction it will go onto your reel. The water helps the line unwind smoothly and reduces memory.
- Step 3: Thread the Line. Open the bail arm on your spinning reel. Thread the line from the submerged spool through the first guide on your fishing rod (the one closest to the reel) and then directly to the reel’s spool.
- Step 4: Tie the Arbor Knot. Tie an arbor knot (or a simple uni knot) directly to the reel’s spool. Ensure it’s tight and secure. Trim the tag end.
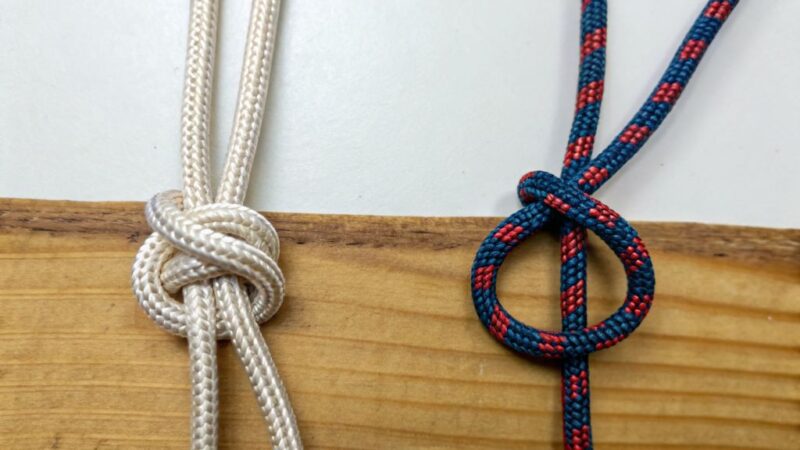
- Arbor Knot: Wrap the line around the reel’s spool. Tie an overhand knot in the tag end around the standing line. Then, tie another overhand knot in the tag end a few inches up the standing line. Pull the standing line tight, then pull the tag end to cinch down the knots onto the spool.
- Step 5: Close the Bail and Start Reeling. Close the bail arm. Begin reeling at a steady, moderate pace. As you reel, watch the line coming off the filler spool in the bucket.
- Step 6: Maintain Consistent Tension. This is where the damp cloth comes in handy. Pinch the line lightly between your thumb and forefinger (or use a damp cloth) on the rod section between the first guide and the reel. Apply consistent, light-to-moderate pressure. The goal is to keep the line taut as it goes onto the reel.
- Step 7: Check for Line Twist. Periodically stop reeling and let a few feet of line hang freely from the rod tip. If the line begins to twist and coil, you’re introducing twist. This indicates the line is coming off the filler spool in the wrong direction. Simply flip the filler spool over in the bucket and resume spooling.
- Step 8: Fill the Spool Correctly. Continue reeling until the line reaches about 1/8th of an inch (approximately 3mm) from the lip of the spool. Overfilling will lead to tangles and backlashes; underfilling will reduce casting distance.
- Step 9: Cut and Secure. Cut the line from the filler spool. Your spinning reel is now perfectly spooled!
-
Spooling a Baitcasting Reel: The Pencil/Dowel Method
Baitcasting reels require a slightly different approach due to their revolving spool. The key here is maintaining strong, consistent tension and ensuring the line comes off the filler spool in the same direction as the baitcasting reel’s spool.
- Step 1: Secure the Reel to Your Rod. Attach your baitcasting reel to the rod.
- Step 2: Prepare Your Line Spool. Have a friend hold the line spool with a pencil or dowel rod threaded through the center. Instruct them to apply consistent pressure to the ends of the pencil, acting as a brake, creating tension as you reel. Alternatively, if spooling alone, you can use a spooling station or place the spool on the floor with the label facing up, allowing it to unroll.
- Step 3: Thread the Line. Thread the line through the reel’s line guide and then directly to the reel’s spool.
- Step 4: Tie the Arbor Knot (or Backing Knot).
- For Braid: Tie an arbor knot with a mono backing first (about 10-20 yards) to prevent the braid from slipping on the arbor. Then, use a strong knot like a FG knot or a double uni knot to connect your braid to the mono backing.
- For Mono/Fluoro: Tie an arbor knot directly to the spool.
- Step 5: Start Reeling and Maintain Tension. Engage the reel. Have your friend apply strong, consistent tension on the line spool. If spooling alone, use a damp cloth to pinch the line coming into the reel’s line guide, applying steady pressure.
- Step 6: Guide the Line Evenly. As you reel, use your thumb (or a finger) to gently guide the line back and forth across the reel’s spool. This ensures the line lays on evenly, preventing lumps and bumps that can cause backlashes. Many modern baitcasters have a level wind system that does this automatically.
- Step 7: Fill the Spool Correctly. Continue reeling until the line is about 1/8th of an inch (approximately 3mm) from the edge of the spool. Overfilling a baitcaster is a guaranteed recipe for backlashes.
- Step 8: Cut and Secure. Cut the line from the filler spool.
-
Spooling a Spincast Reel: Simplest of the Bunch
Spincast reels are generally the easiest to spool, as they are less prone to twists.
- Step 1: Remove the Nose Cone. Twist and remove the nose cone of the spincast reel.
- Step 2: Thread the Line. Thread the line through the hole in the nose cone. Then, thread it through the small hole in the pick-up pin/mechanism on the spool itself.
- Step 3: Tie the Arbor Knot. Tie an arbor knot to the spool.
- Step 4: Reattach Nose Cone and Reel. Reattach the nose cone. Engage the reel.
- Step 5: Maintain Tension. Use your thumb and forefinger to apply light tension to the line as it comes from the filler spool to the reel.
- Step 6: Fill the Spool. Fill the spool until it’s about 1/8th to 1/4th of an inch from the edge.
Related: Beginner’s Guide to Lake Trout Fishing
Pro Tips for Tangle-Free Spooling and Beyond
- Always Check the Line Direction: This is the golden rule, especially for spinning reels. Pay attention to how the line comes off the filler spool.
- Match Line Capacity: Your reel will have a recommended line capacity (e.g., “10 lb/150 yds”). Don’t try to cram too much line on, or you’ll have problems.
- Don’t Overfill (or Underfill): As mentioned, overfilling leads to backlashes and tangles. Underfilling reduces casting distance. Aim for that 1/8th inch sweet spot.
- Use a Backing Line for Braid: Always use a monofilament backing for braided line on any reel type to prevent slippage.
- Consider a Leader: For many fishing situations, especially with braid, using a fluorocarbon or monofilament leader connected to your main line will provide added stealth and abrasion resistance.
- Regularly Check Your Line: Even with perfect spooling, line can develop memory and twist over time. Periodically check your line for twists and replace it when necessary.
- Store Your Rods Properly: Don’t leave your rods leaning against walls or in tight spaces where the line can get pinched or tangled.
- Lubricate Your Reel: A well-maintained reel operates smoothly, putting less stress on your line.
- Practice Makes Perfect: If you’re new to spooling, don’t get discouraged if your first attempt isn’t flawless. With practice, you’ll develop a feel for the right tension and technique.
- Don’t Be Afraid to Re-Spool: If you notice consistent tangles, backlashes, or line twists, it’s better to cut your losses and re-spool your reel. It will save you more time and frustration in the long run.
Related: Which Setup Is Best for Catching Fish?
Conclusion: Embrace the Smoothness, Enjoy the Catch!
Spooling a fishing reel correctly might seem like a minor detail, but it’s a foundational skill that can dramatically improve your fishing experience. By following the steps outlined in this guide and applying the pro tips, you’ll be well on your way to eliminating frustrating tangles, achieving longer, more accurate casts, and ultimately, enjoying more successful and rewarding days on the water. A properly spooled reel isn’t just about preventing headaches; it’s about setting yourself up for success, cast after smooth cast. So, take the time, get it right, and prepare to reel in your next big catch with confidence!